
Hello, everyone!
I have a new mini album tutorial for you! I hope you will be inspired!

Materials Used:
Silver Metallic Cardstock - 12 x 12 - 1
Georgia Blues Papers
Georgia Blues Flowers

Gather the the supplies...

...as I have listed.

For the covers - cut all pieces 6" x 8":
2 from chipboard
2 from Silver metallic cardstock
2 from Moon Child paper
(as shown - or choose another)

From light and dark purple cardstock:
Make 4 Envelopes that measure 5 1/2" x 7 1/2"
I used my envelope punch board to do this.

Cut a thin slice off the envelopes, as shown in the photo.
On the long side of the light purple envelopes.
On the short side of the dark purple envelopes.
Punch a tab in the center of each opening, as shown.
Now have fun putting your album together, as shown in the following photos.

For the front cover:
Adhere the decorative paper to the front of the chipboard,
and the silver cardstock to the inside cover.

I added a triangle pocket to the inside to hold a card.
The next page is a double sided paper, cut at 5 1/2 x 7 1/2.
Both sides were too pretty to cover up!

On the right, I covered the envelope with paper, punching a matching tab opening.
I added a decorative band to hold several cards.
I inserted a tag into the pocket, and used a flower for a pull.

Decorative paper on the envelopes.

Decorative paper on the envelopes, with the tabs punched out.
Tags inserted in the envelopes, with flower pulls.

More pretty paper on the envelopes.
I added punched pockets along the bottom to hold cards.

The back of the last envelope.
I covered it with paper, and punched a tab.
Here you can see the envelope insert pulled out.

I added another decorative band to hold some more cards.
The page on the right is the final double sided paper.
I think it's my favorite!

The last page, and inside back cover.
More cards in the pocket.
All have beautiful metallic silver foil!
For the back cover: Silver metallic cardstock adhered to the inside of the chipboard, with the decorative paper adhered to the other side of the chipboard.
Finally, bind by method of choice.
I punched three holes, and added binding rings.
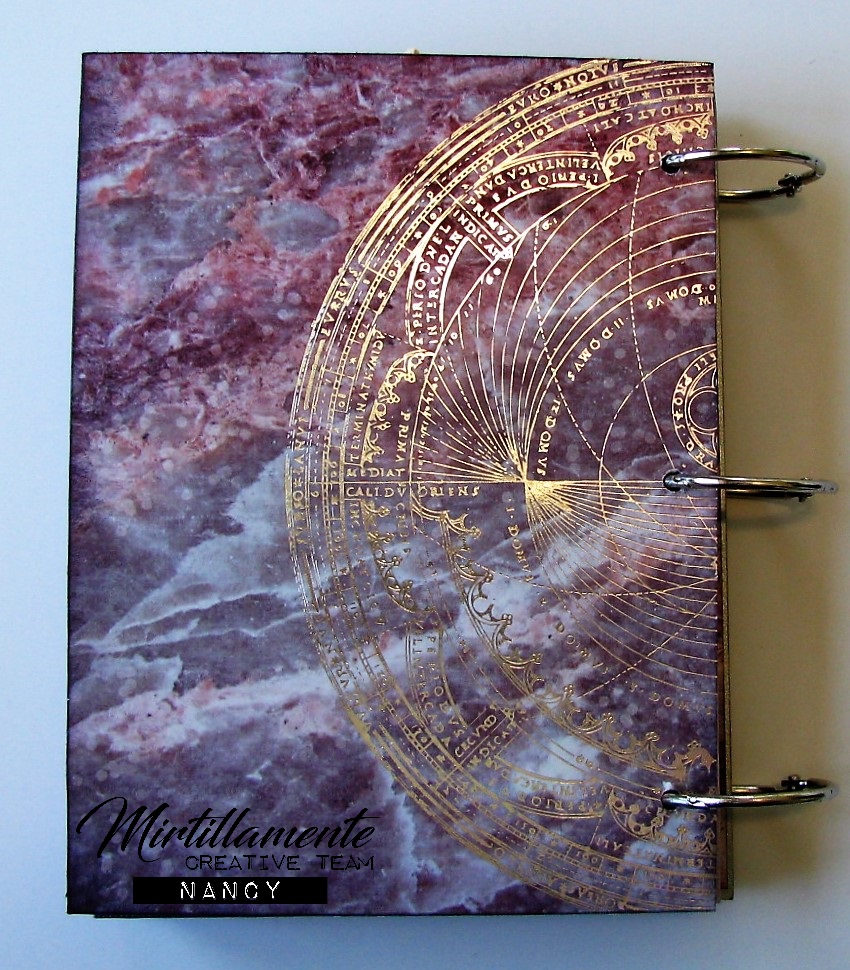
Above: The back cover.
Below: One final look at the front cover.
I added a number of the enamel accents.

I hope you enjoyed my mini album!
I really enjoyed creating it for you!
Head on over to the Shop and check out all the fun goodies!
I'll be back again soon!
Nancy

Nessun commento:
Posta un commento