
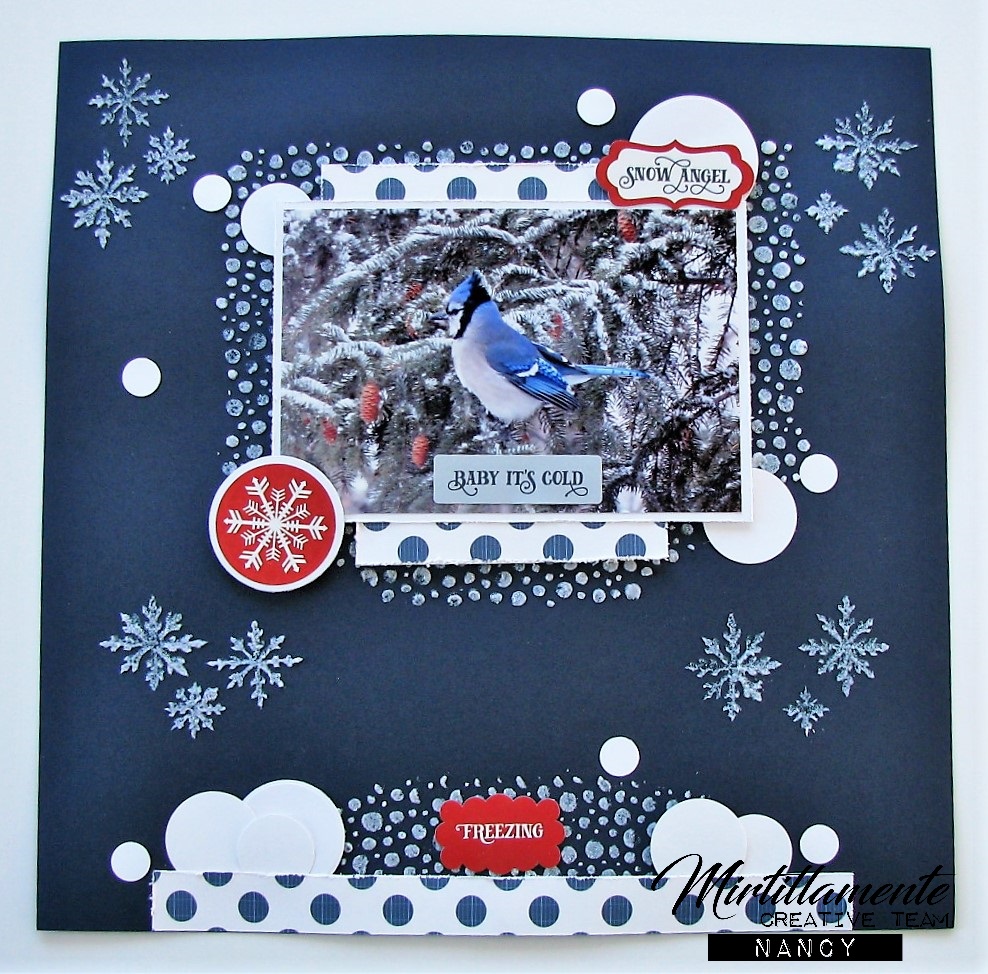
Today I have a Winter layout to share with you. I wanted to play with this photo of a beautiful Blue Jay that is a regular visitor to my back yard. He is VERY noisy, and always lets me know when he is there! I call this my Freezing Season Layout:
Here is how I created it:
I began by gathering a navy cardstock for my background base. I then used two Dylusions stencils (Let It Snow and Small Bubbles) and Prima art extra vagance Snowflake Paste.

I stenciled my snowy design, and then set it aside to dry. When it was dry, it resembled snow beautifully!

Next, I cut a mat for my photo from white cardstock, and I cut several strips from the Les Papiers de Padore - Weeeek-end! paper. I also punched several circles from white cardstock using my 1/2", 1", and 1 1/4" circle punches. These will be my snowballs.

This photo shows how I assembled all these pieces. I first distressed all the edges with a distressing tool. I began with matting the photo. Then I added a strip of paper to the top, and a smaller strip to the bottom. I then adhered it to the background using foam tape. I then added a longer strip of the paper along the bottom of the page. I then added a variety of the "snowballs" randomly around the page.

Finally, I added some fun stickers from the Echo Park - I Love Winter 12 x 12 Sticker Sheet.

Here's a closer look at the photo, and the embellishments surrounding it:

Here's the bottom of the page:

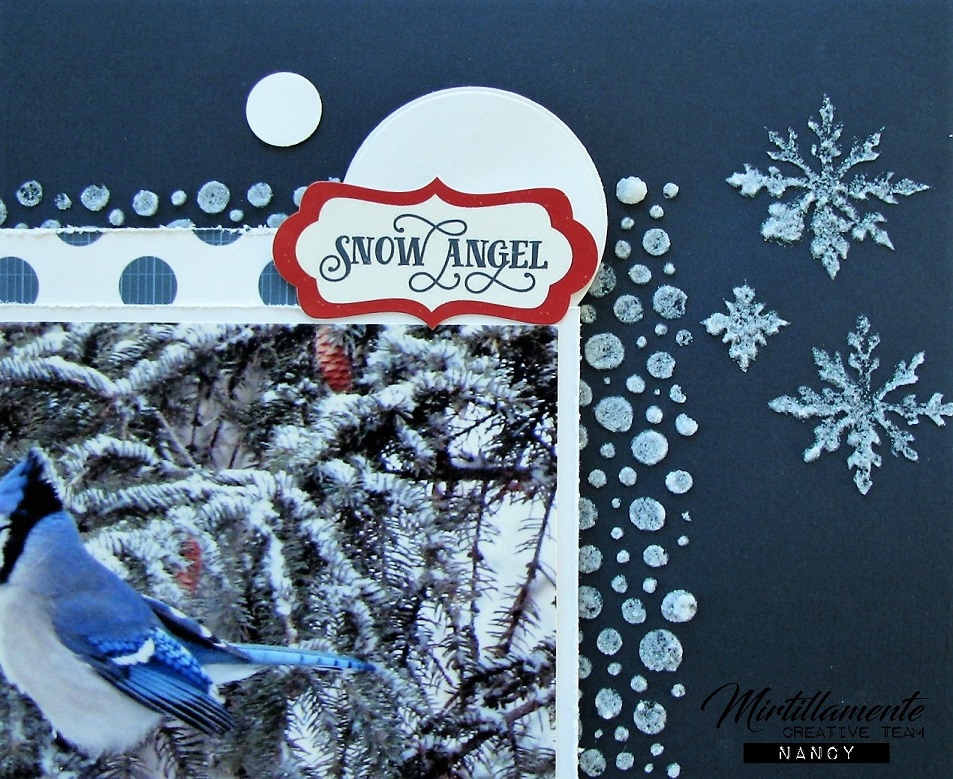
The top right corner:
Here you can see some of the dimension the foam tape adds:


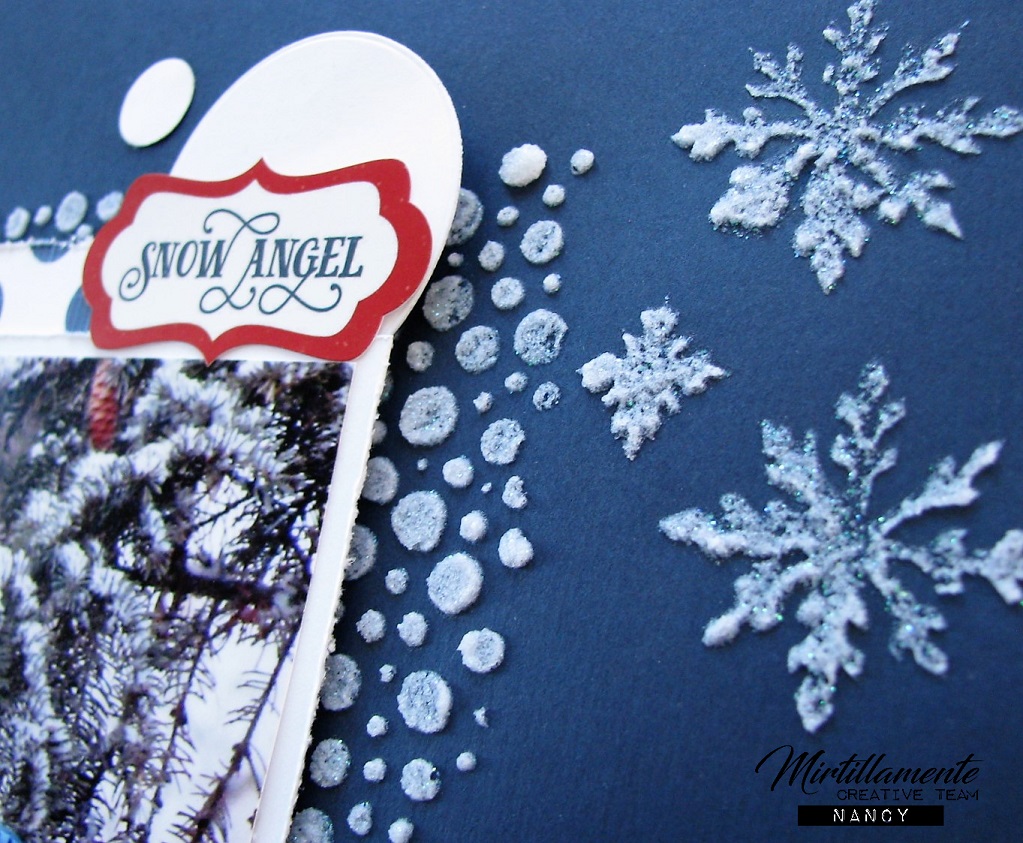
The paste also adds wonderful texture:
Here's one final look at the finished page:

Come visit my at The Nickel Nook

Nessun commento:
Posta un commento