
Hola Mirtilli!!
Hello Mirtilli!!
Como DT del equipo de Mirtillamente este mes he realizado una tarjeta de regalo para un cumpleañero!
As a Mirtillamente Creative Team this month I have made a gift card for a birthday!

Se acerca el veranito y tenemos muchas ganas de irnos de vacaciones.
Con esta tarjeta interactiva empezamos a transportarnos al mar!
The summer is coming and we want to go on vacation.
With this interactive card we started to transport to the sea!
With this interactive card we started to transport to the sea!
Todos los materiales utilizados los podéis encontrar aquí.
En la maravillosa Mirtillamente Craft Shop.
All the materials used can be found here.
In the wonderful Mirtillamente Craft Shop.
In the wonderful Mirtillamente Craft Shop.
Espero que os guste!!
I hope you like it!


Y éste es el paso a paso:
And this is the step by step:
Materiales:
Materials:

Troquelamos:
Cut:

Recortamos la cartulina craft : 20x30cms y la doblamos por la mitad.
We cut the cardboard kraft: 20x30cms and fold it in half.

Recortamos la cartulina blanca: 19,5 x 14,5cms.
We cut the white cardboard: 19.5 x 14, 5cms.


Recortamos el papel decorado Seaside de Reminisce un poco más pequeño que la cartulina blanca.
We cut the decorated paper Seaside of Reminisce slightly smaller than the white cardboard.


Lo pegamos.
We glued it.

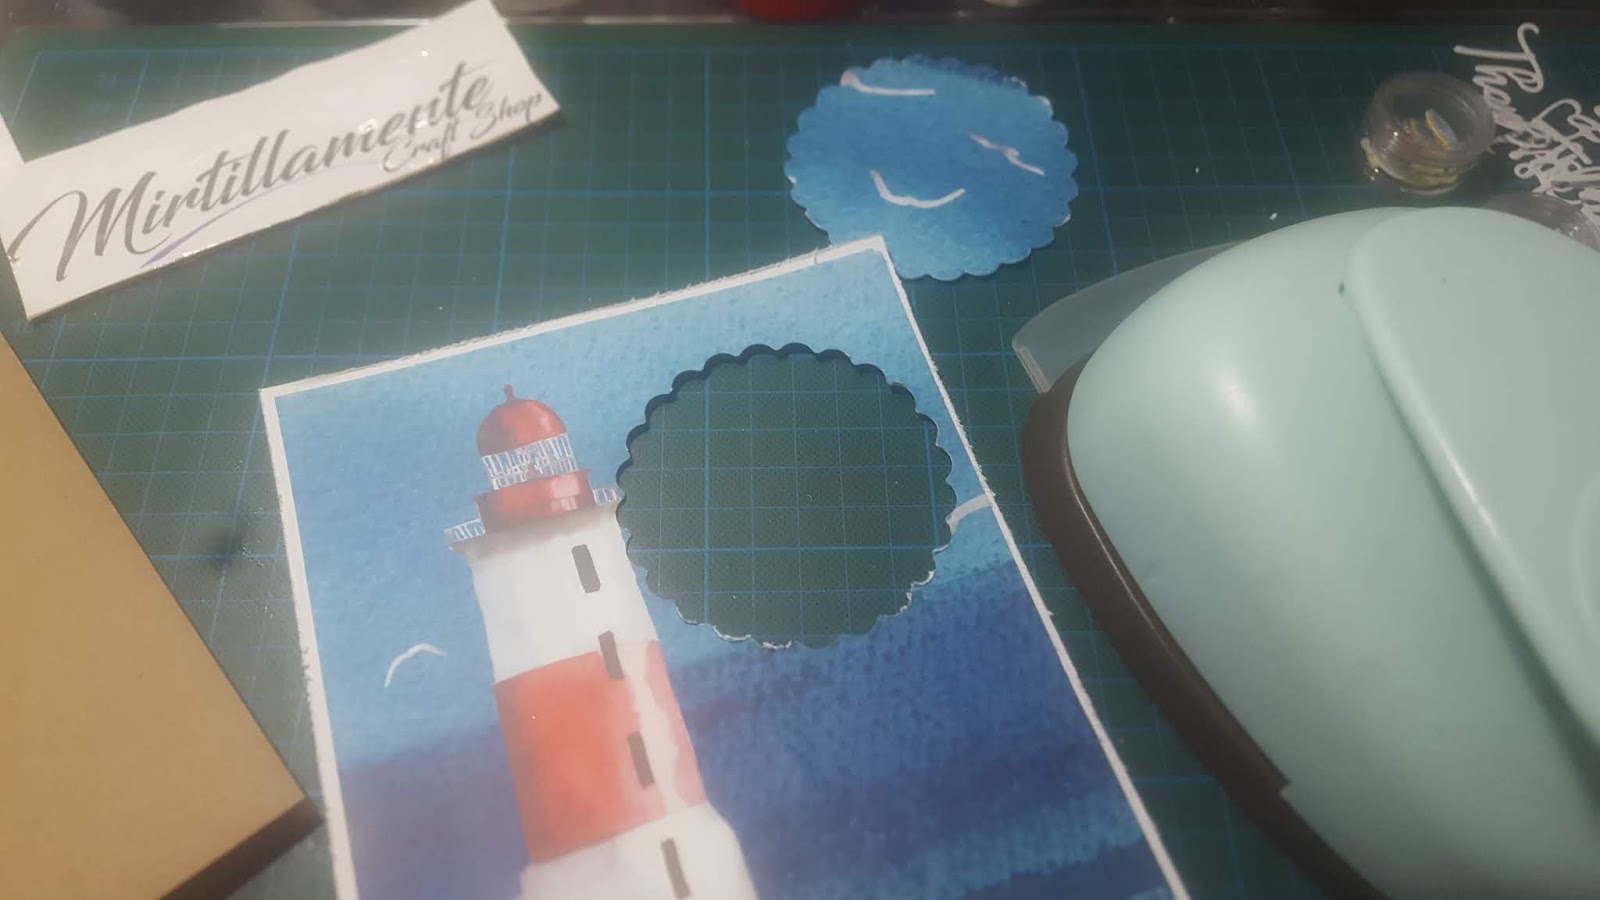
Troquelamos en la esquina superior derecha.
Cut in the upper right corner.

Entintamos los sellos My Big Wheels sobre la cartulina texturizada.
We inked the seals My Big Wheels on the textured cardboard.


Los recortamos.
We cut them.


Dibujamos con el compás 2 circunferencias concéntricas.

Recortamos por la exterior y hacemos picos hacia la interior. A modo de engranaje.
We cut through the outside and make spikes to the inside. As a gear.


Presentamos sellos sobre la rueda y colocamos sujeción central con un brad con la cartulina kraft.
We present seals on the wheel and place central clamping with a brad with the Kraft cardboard.


Pegamos resto de sellos en la rueda.
We glued the rest of the seals on the wheel.

Pegamos la cartulina blanca decorada con precaución de no tocar la rueda.
We glue the white cardboard decorated with caution not to touch the wheel.

Recortamos Seaside de Reminisce para decorar la portada.
We cut Seaside of Reminisce to decorate the cover.


Pegamos con cinta doble cara de foam en 3D.
We stick with double-sided foam tape in 3d.


Tapamos la sujeción interior con los troquelados. Dejando espacio para colocar fotos.

Y en el vídeo podéis ver cómo interactuamos con la tarjeta!
And in the video you can see how we interact with the card!
Podéis ver todos los maravillosos proyectos de mis compañeras en el blog:
You can see all the wonderful projects of my colleagues in the blog:
Y seguirnos en Facebook:
And follow us on Facebook:
Nessun commento:
Posta un commento